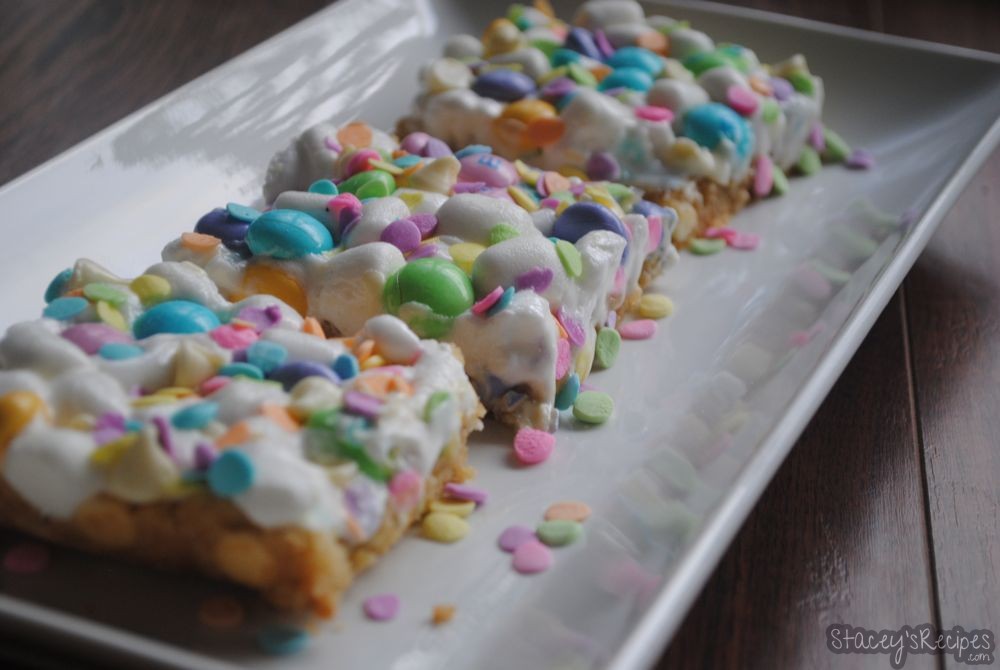
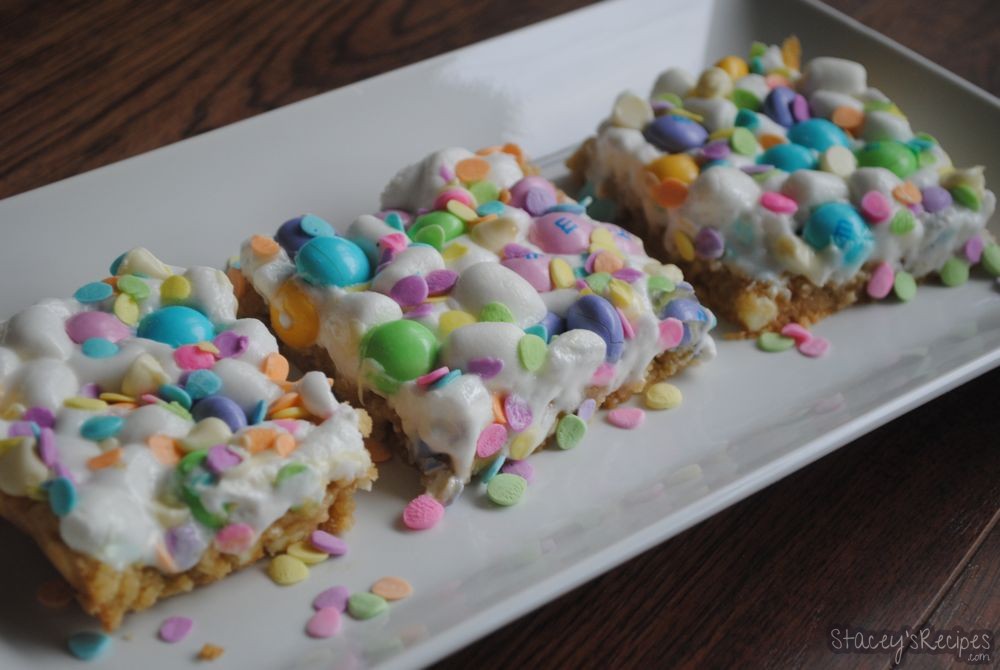
These bars are perfect for Easter – which is right around the corner – they have the perfect pastel colors that make me think of spring. They are easy to make and are delicious. You could even change the color of the M&M’s and sprinkles for different occasions. These bars are a total crowd please – the pastel sprinkles don’t hurt either!
What You’ll Need
- Stand Mixer
- 9 x 13 Pan
- Large Bowl

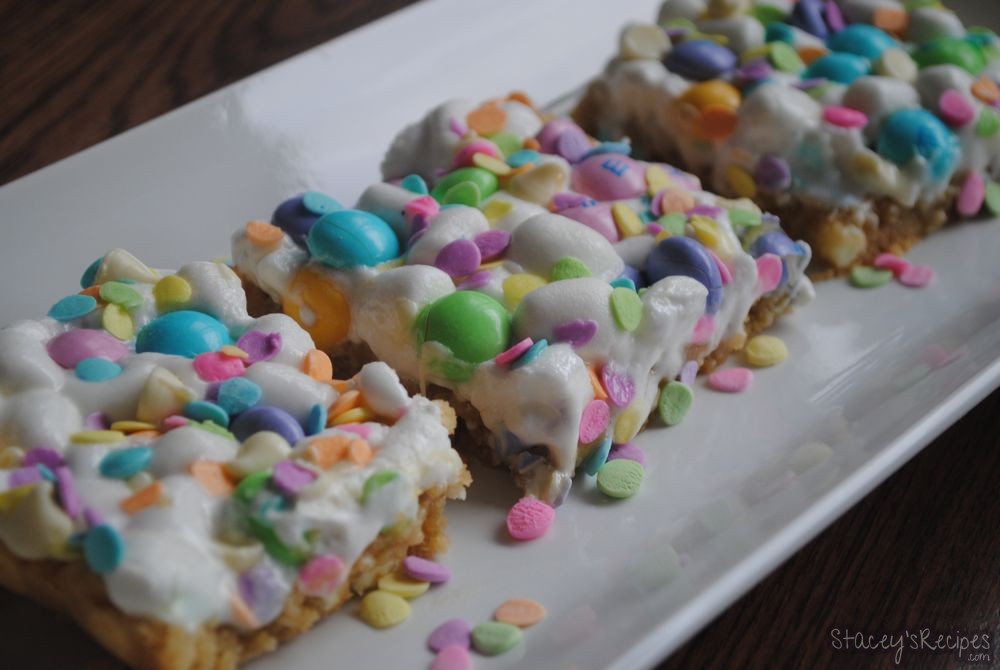
Spring Time Blondie Bars
Ingredients
- 1/2 cup butter - at room temperature
- 1/2 cup white sugar
- 1/4 cup + 1 tablespoon brown sugar
- 1 large egg - at room temperature
- 1 teaspoon vanilla extract
- 1 and 1/2 cup flour
- 1/2 teaspoon baking soda
- 1 teaspoon baking powder
- 1/2 teaspoon cornstarch
- 1/4 teaspoon salt
- 1 and 1/4 cup white chocolate chips - separated
- 3 cups miniature marshmallows
- 3/4 cup Spring M&M’s
- 3 tablespoon sprinkles
Instructions
- Preheat your oven to 350 degrees.
- Using your stand mixer combine the butter and both of the sugars.
- Add the egg and vanilla and mix until just combined.
- In a large bowl add the flour, baking soda, baking poder, cornstarch and salt.
- Whisk dry ingredients until throughly mixed.
- Slowly add the dry ingredients to the wet ingredients on a low speed.
- Once combined, mix in 1 cup of the white chocolate chips with a wooden spoon or spatula.
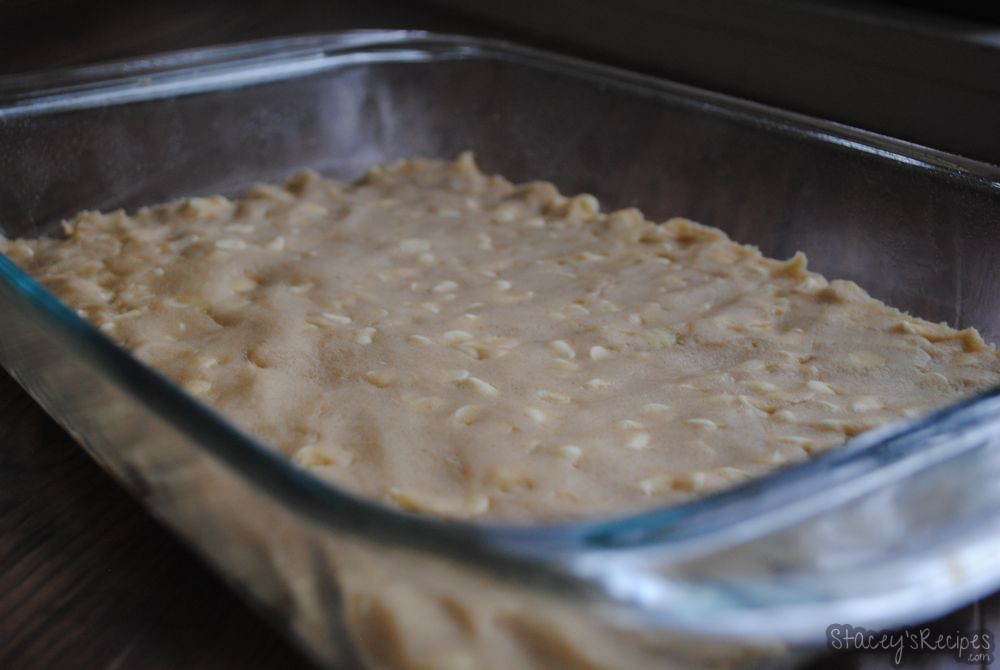
- Spray your 9 x 13 pan with non-stick spray and press the dough into the pan.
- Bake for 11-13 minutes - until the edges are golden brown.
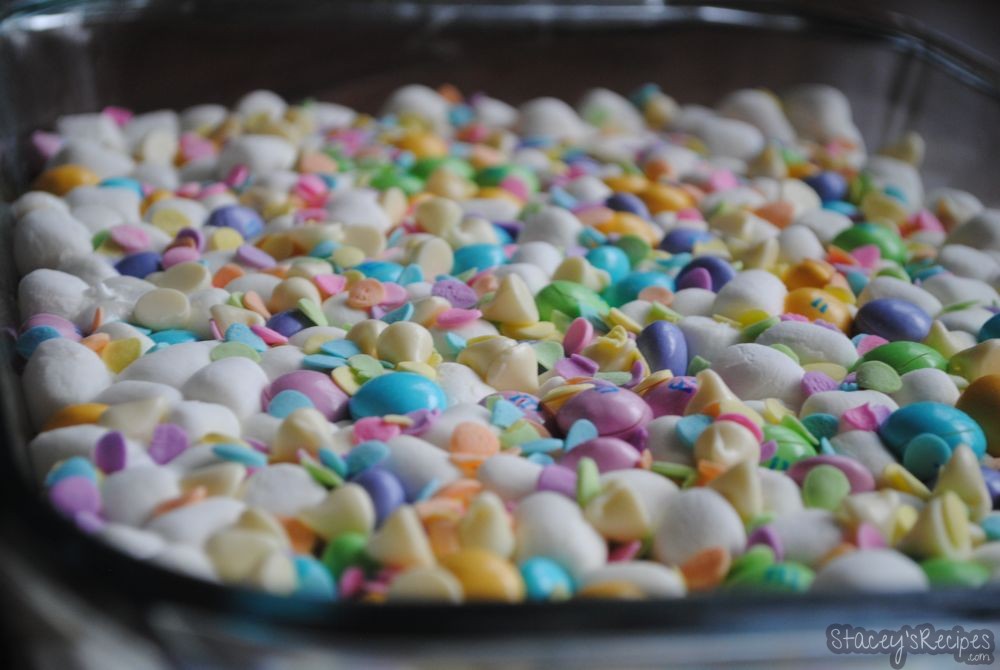
- Remove from the oven and top with the mini marshmallows and M&M's.
- Place back in oven for 2-3 minutes - until the marshmallows being to puff up.
- Once done, remove from oven and top with remaining white chocolate chips and sprinkles.
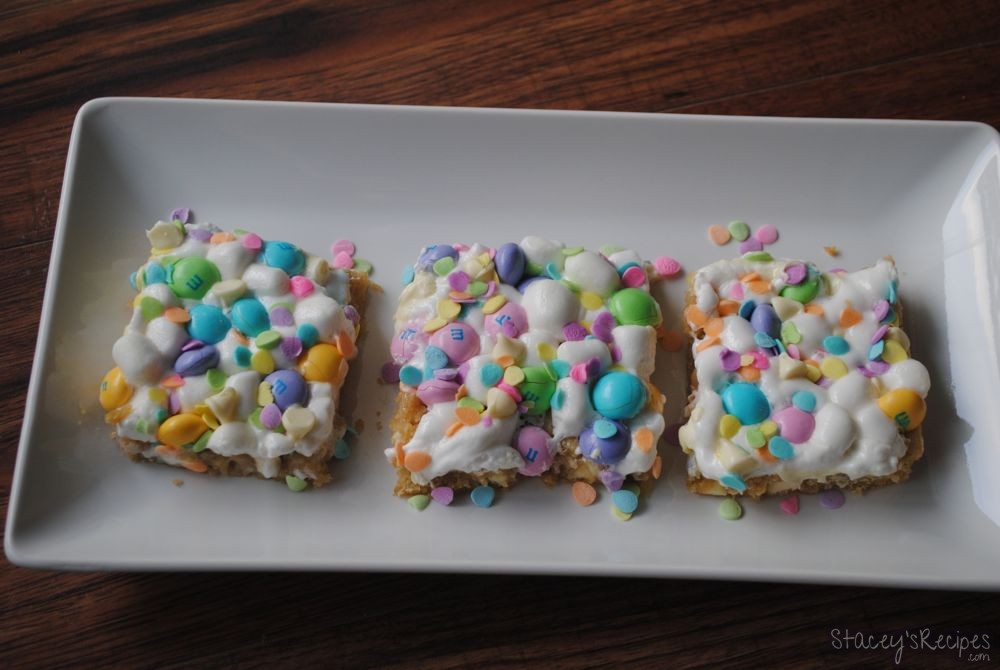
- Let cool completely before cutting with a wet knife.
I saw these on Chelsea’s Messy Apron – they looked so good I just had to try them myself!