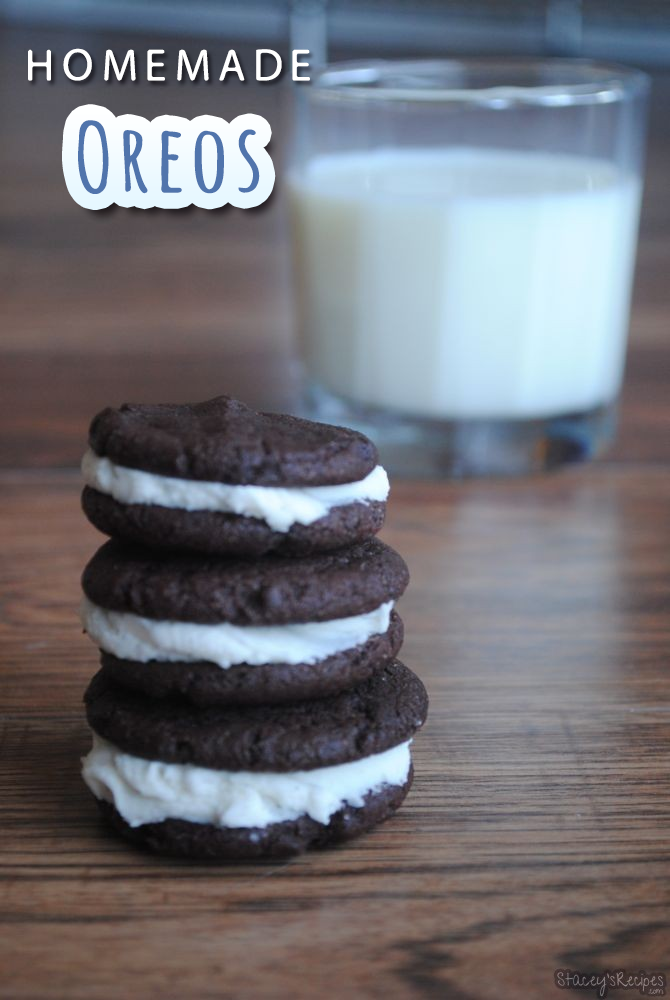
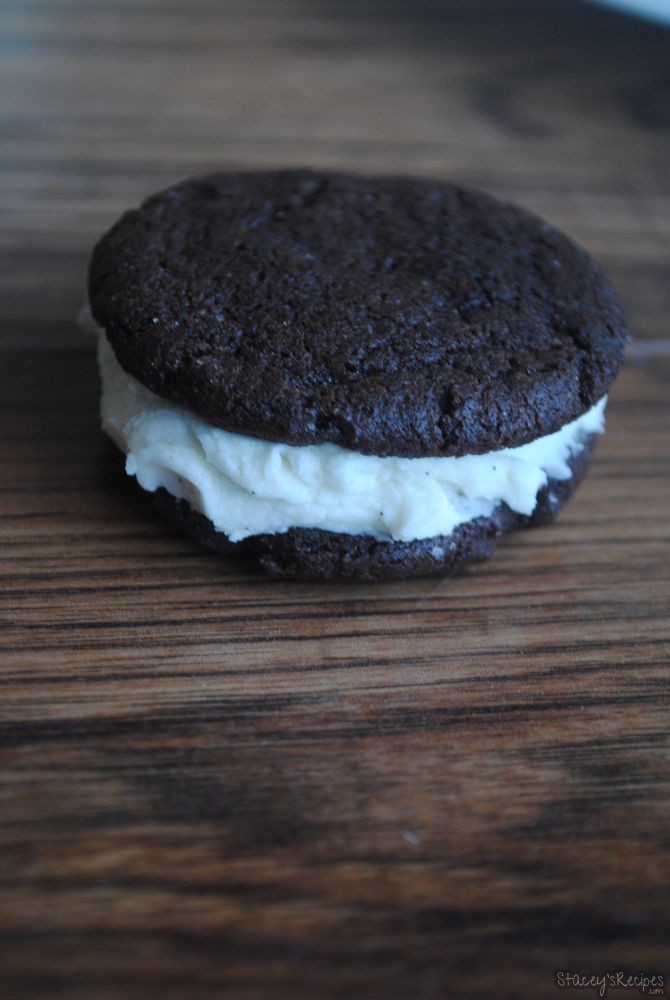
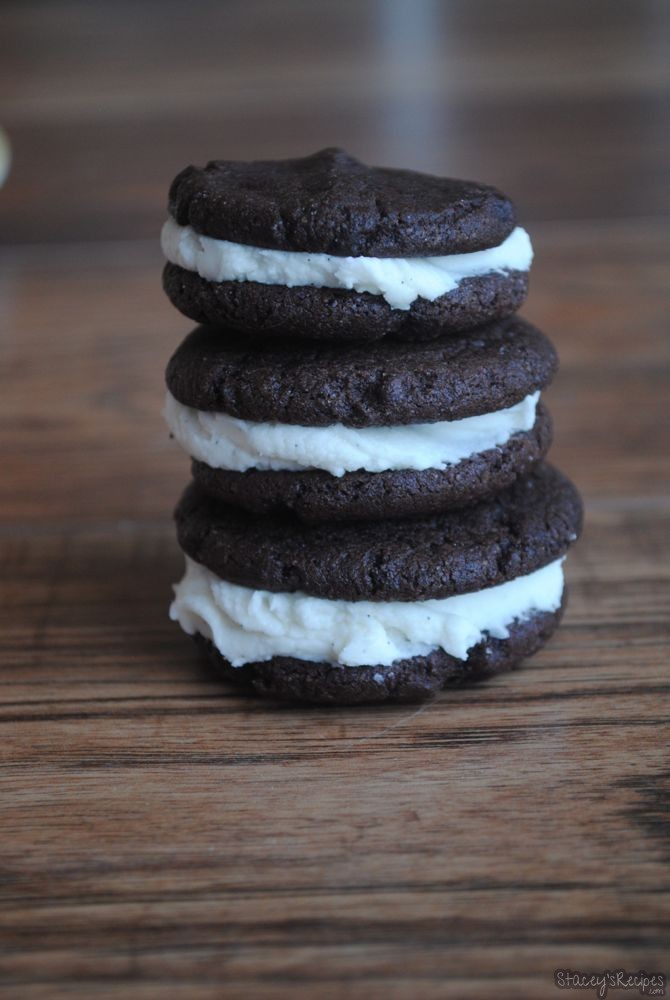
Are you a fan of the classic store bought Oreos? Yes? Well, you will love this homemade version. The chocolate cookies on the outside of the filling taste just like the classic Oreos, just a little softer and chewier, which I think tastes much better. This homemade filling is just as creamy and with a little but of extra fluff. Put the two of those together and you have a better version than those store bought oreos. Plus you’ll be surprised at how easy it is to make these! Looking for a way to make these spice these up for a special occasion? Add some food coloring to the filling depending on the occasion. The possibilities are endless! Do you like the mint oreos? Instead of adding the vanilla extract to the filling add 1/4 teaspoon of peppermint extract and 2 drops of green food coloring until you get your desired color! Be sure to have a tall glass of milk ready to dunk these tasty homemade Oreos! You wont be disappointed!
What You’ll Need
- Stand Mixer
- Large Bowl
- Silpat
- Baking Sheet
- Wire Cooling Rack

- 1 and 1/4 cup flour
- 1/2 cup cocoa powder
- 1 teaspoon baking soda
- 1/4 teaspoon salt
- 1/2 cup unsalted butter - at room temperature
- 3/4 cup sugar
- 1/4 brown sugar
- 1 large egg
- 1 teaspoon vanilla extract
- 1/4 cup unsalted butter - at room temperature
- 1/4 vegetable shortening - at room temperature
- 1 and 3/4 cup icing sugar
- 1 teaspoon vanilla bean extract
- In a large bowl combine the flour, cocoa powder, baking soda and salt - set aside
- Using your stand mixer beat the butter until smooth - about one minute.
- Beat in the sugars until combined.
- Add in the egg and vanilla extract.
- Stop the mixer and add all the dry ingredients to the wet ingredients.
- Mix until just combined and the dough is formed.
- Chill the dough for 30 minutes - chilling is mandatory.
- Once the dough is chilled heat your oven to 350 degrees and line your baking sheets with silpat or parchment paper.
- Roll out about 2 teaspoon balls of dough and place on your baking sheet.
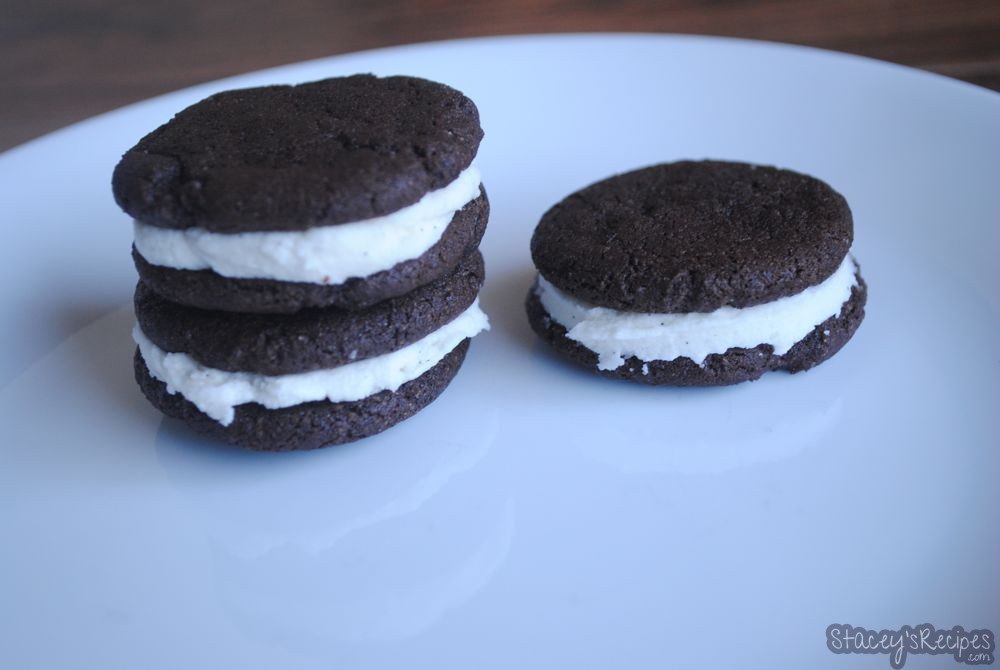
- Lightly press down the dough balls so they are slightly flatter - see photo above.
- Bake for about 6-8 minutes - mine only took 6 so just be sure to keep an eye on them.
- Let cool on the baking sheet for at least 5 minutes before transferring to the cooling rack.
- Repeat about 3-4 times until all the dough is used.
- Using your stand mixer beat the butter and vegetable shortening on medium speed until smooth and creamy.
- Add in the icing sugar and vanilla bean paste on low until just combined.
- Beat on medium-high speed for 1-2 minutes until creamy - the filling will be thick.
- Spread on one half of your cookie and place another cookie on top of the half iced cookie.
- Store in an air tight container for up to a week.